Transferring to a client or single account
Here are the steps to transfer your Webflow project:
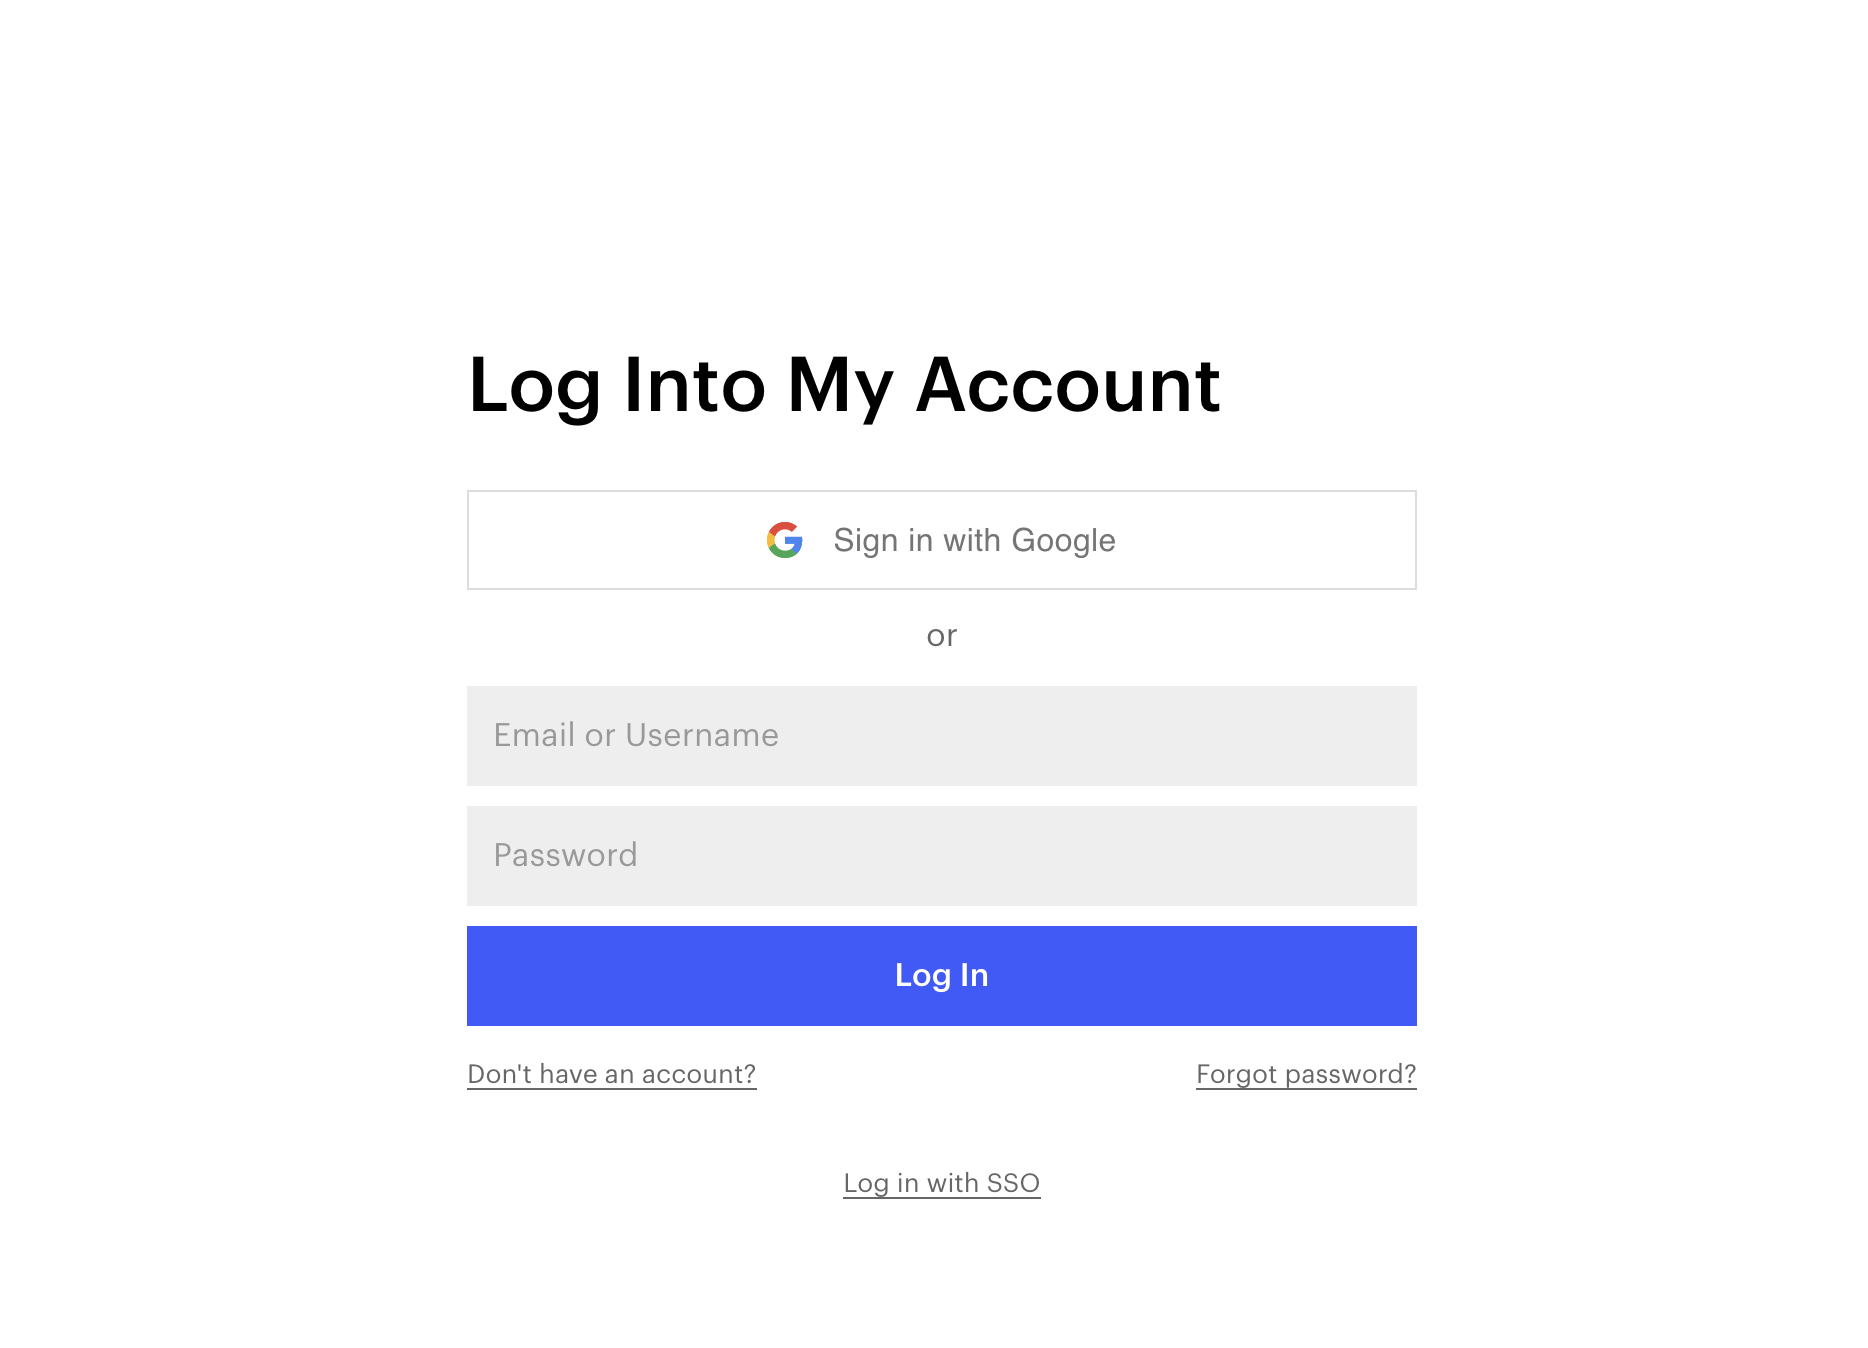
1. Login to your Webflow account

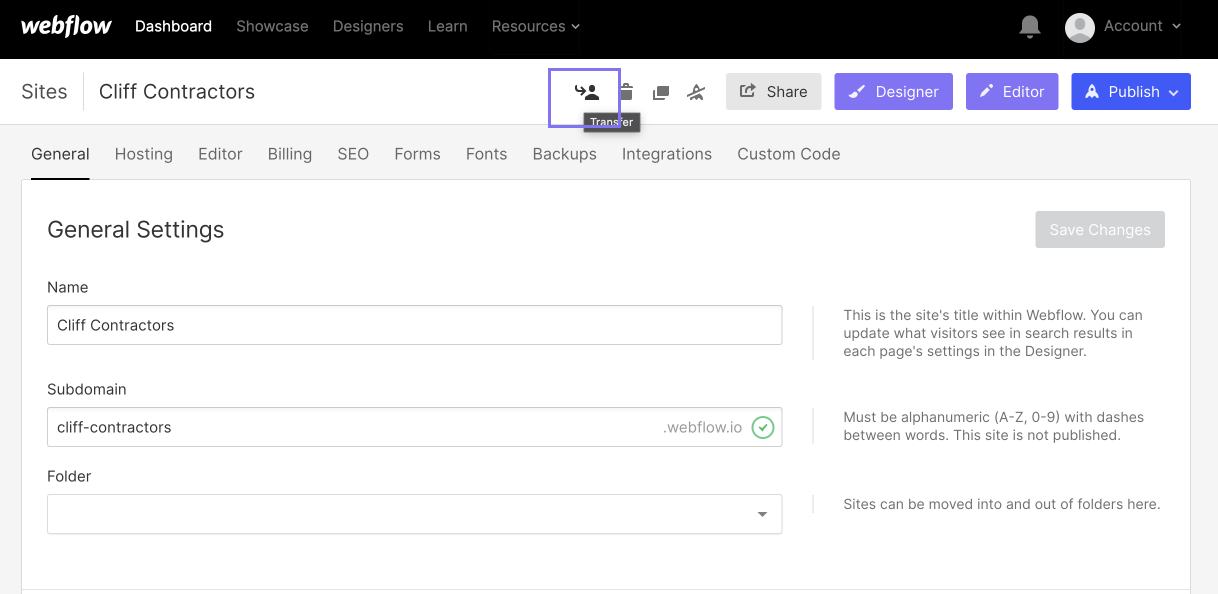
2. Go to the project setting as shown in the video or below image.

3. There is an icon next to the shared project Icon(left side). Click on that icon to start transfer.

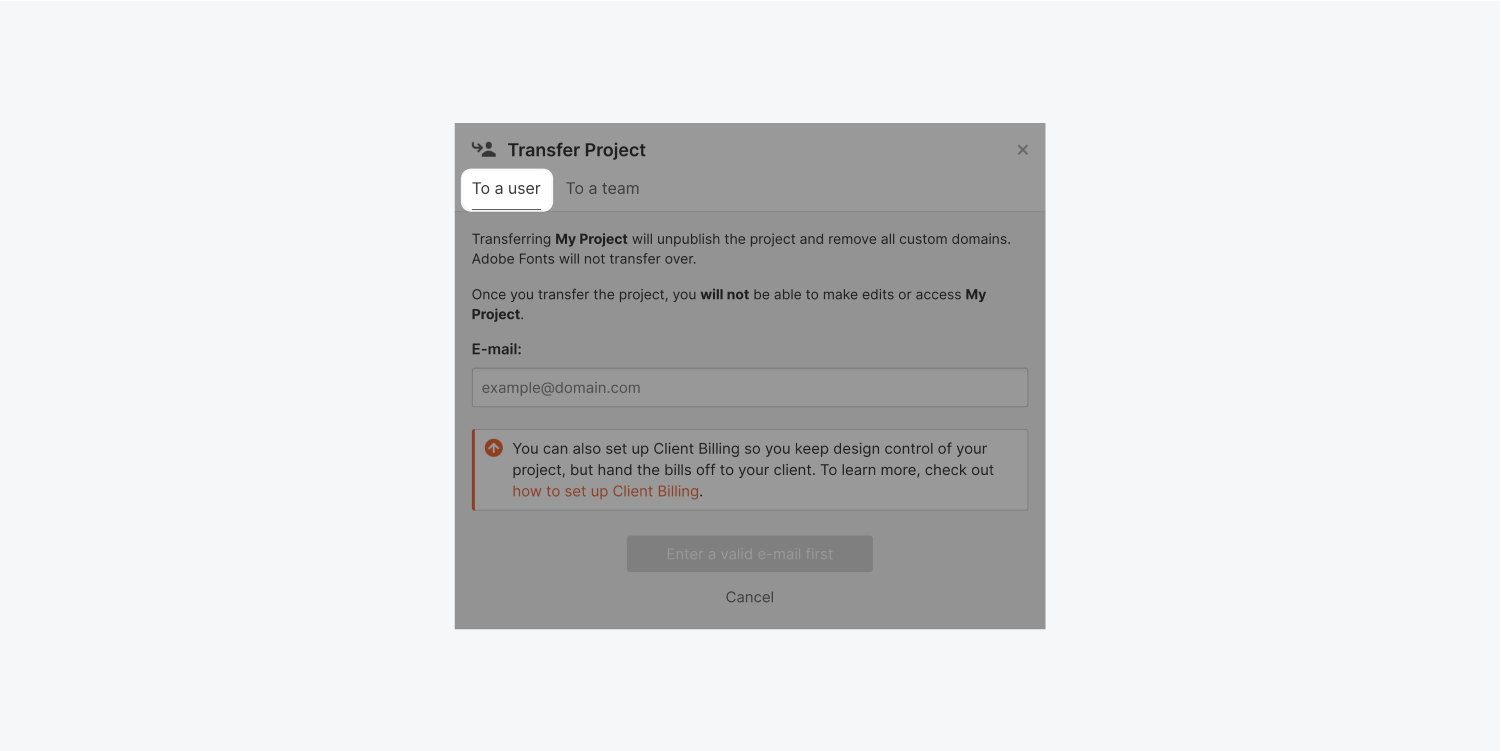
4. Finally, add the email address of your client's Webflow account and hit the transfer button. You can also transfer SEO and Hosting settings too but it is up to you.

You can transfer projects between Webflow accounts, including between your own personal and team account dashboards.
When you transfer a Webflow project, all your work in the Designer gets transferred to the new Dashboard, including styles, pages, content (including CMS content), and custom code.
When you transfer the original project, the following content and settings also get transferred:
- Assets(Images, videos, animations, etc.)
- Versions(backups and variants)
- Custom fonts
- Form submissions
- Redirects
- And other project settings
For security and privacy reasons, account- and client-specific configurations are reset to default and therefore not transferred with your project.
These include:
- Custom domain and hosting subscriptions
- Collaborators
- Form notification information
- reCAPTCHA keys (they're reset on transfer, but reCAPTCHA remains enabled)
- Adobe fonts (if integrated into your account)
- Billing and any other account- or email- specific information
Adobe fonts are only included when the Adobe Fonts API key is integrated into the project and not the account. Learn more about integrating Adobe Fonts into a project.


